 Remote Support
 Remote Access
 Monitoring and Management
 Presentation
 Remote Work
 Standard
 Business
 Enterprise
Installing SimpleHelp on Windows
The SimpleHelp Windows installer will manage the installation or upgrades of a SimpleHelp installation. The installer can be downloaded on our Downloads page:
| X |
|---|
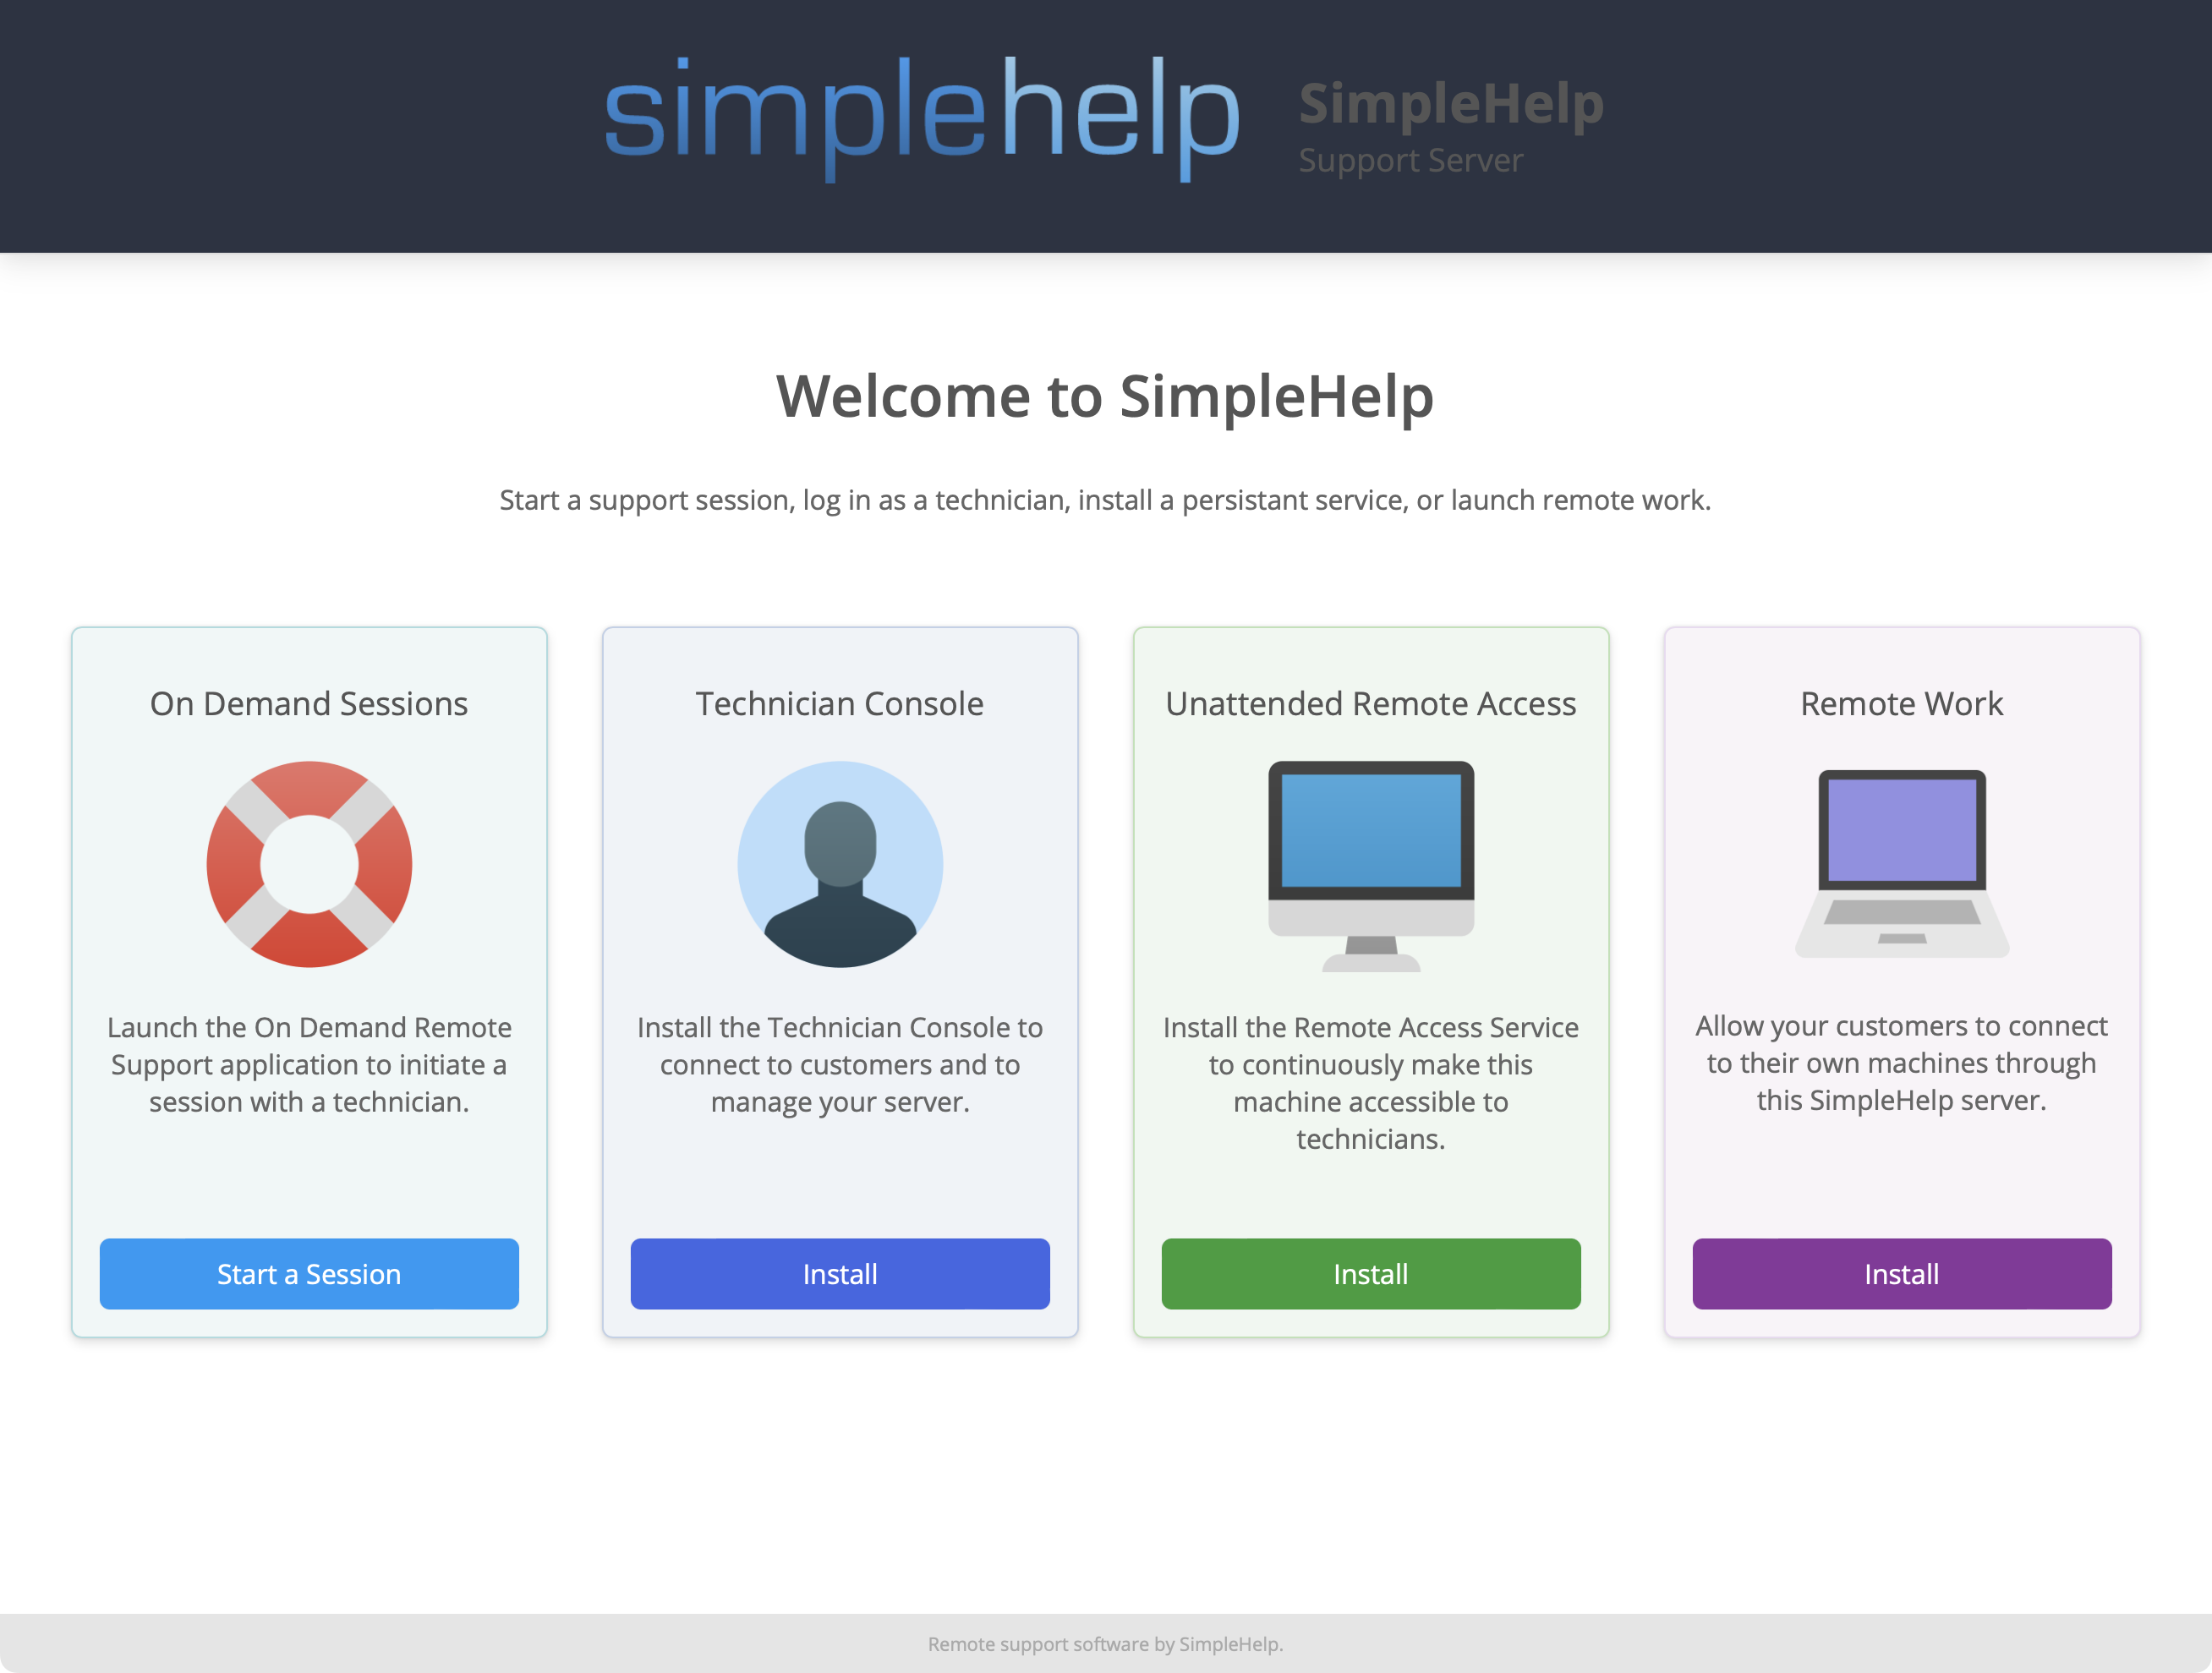
To launch the installer, simply double-click on the downloaded executable. Once complete, the installer will open the server's welcome page in your browser. From here you can download the customer support application, the technician application or the Remote Access Service.
The Technician Console
From the Welcome page, click the link to download and install the Technician application. This will allow you to further configure your SimpleHelp server. Download and launch the application from any machine that is able to reach your SimpleHelp server. It does not need to run on the server itself.
Windows Service
SimpleHelp will automatically install the SimpleHelp server as a Windows service. You do not need to manually start or stop the service, but can instead use the SimpleHelp Server Windows service to control whether the server is running.
Configuring the Windows Firewall
If your server is installed, but you are not able to access it from another computer or from another network then this indicates a firewall or routing problem. Our Public Accessibility Guide will help you resolve these issues. The problem may be that your Windows server is preventing incoming connections on the ports that you have configured SimpleHelp to use.
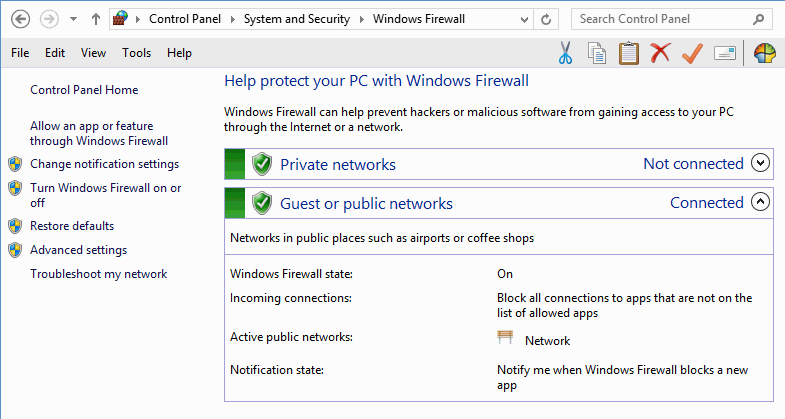
To configure the Windows firewall follow these steps:
- Start by launching the Windows Firewall configuration in Control Panel.
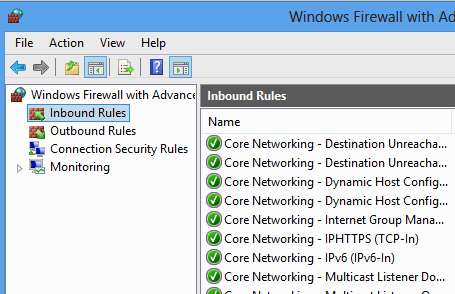
- Choose the Advanced Settings option on the left.
- Choose Inbound Rules:
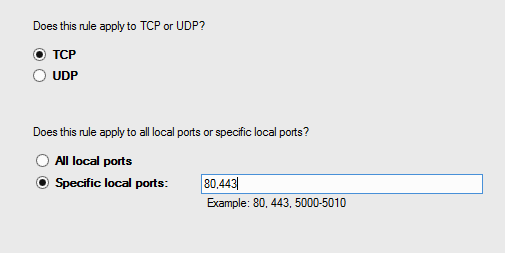
- Next choose New Rule on the right of the Window. When prompted choose to create a Port rule, choose TCP and configure the ports your SimpleHelp server is using (by default ports 80 and 443) under the Specific local ports option:
- Next choose Allow Connection and ensure that the rule is allowed in all situations. Finally, provide a meaningful name for this rule. Press Finish to create the rule.
- Next, repeat the steps to create a new rule but instead of choosing TCP choose UDP.
Windows Firewall will now have two rules, one for TCP and one for UDP, that allow incoming connections on the ports that SimpleHelp is listening on.