Enterprise User Guide
The SimpleHelp Enterprise Tier offers features that are essential for large-scale deployments of SimpleHelp. This guide details how the server administrator can configure and utilise these Enterprise-tier capabilities.
Server Peering
Server peering in SimpleHelp allows you to link two SimpleHelp servers together. Two linked servers will maintain a constant, encrypted, low bandwidth connection to each other that allows the servers to share data between each other.
Connecting Peers
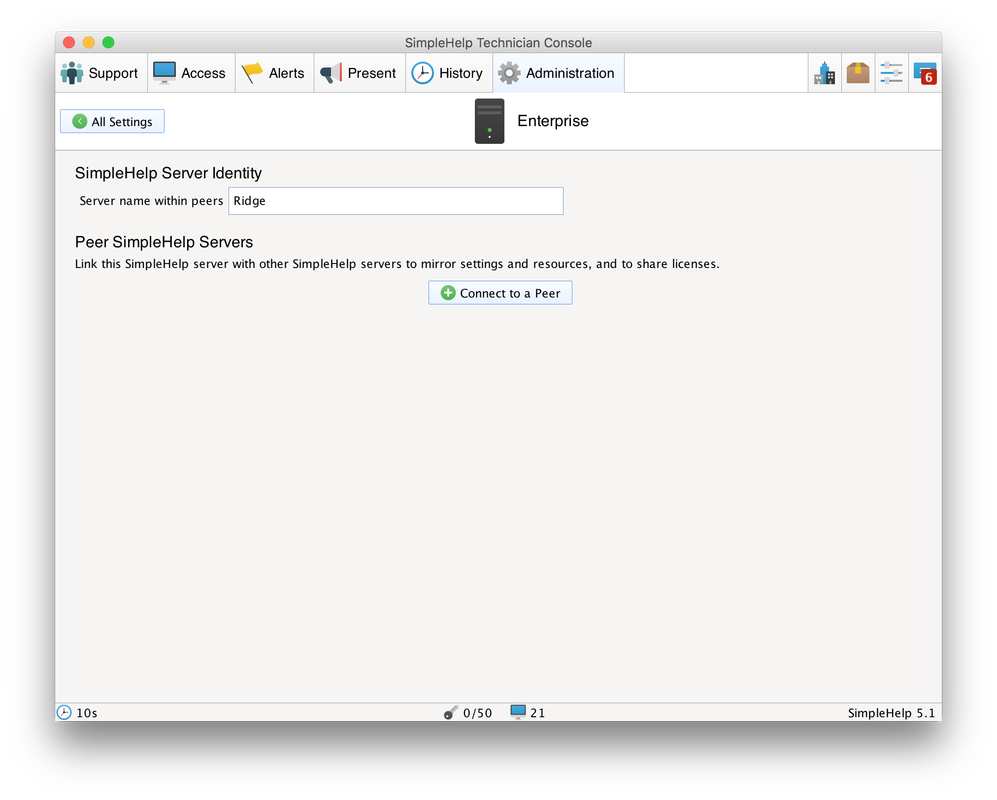
Peer connections in SimpleHelp are created by logging in to as the server administrator and selecting the Administration tab, followed by the Enterprise section.
Within this tab you can set the current server name to identify it among other SimpleHelp servers, and use the Connect to a Peer button to set up a peer connection to another SimpleHelp server. The SimpleHelp server that is instructed to peer with another must be able to establish a direct connection to the target SimpleHelp server on the address entered when connecting:

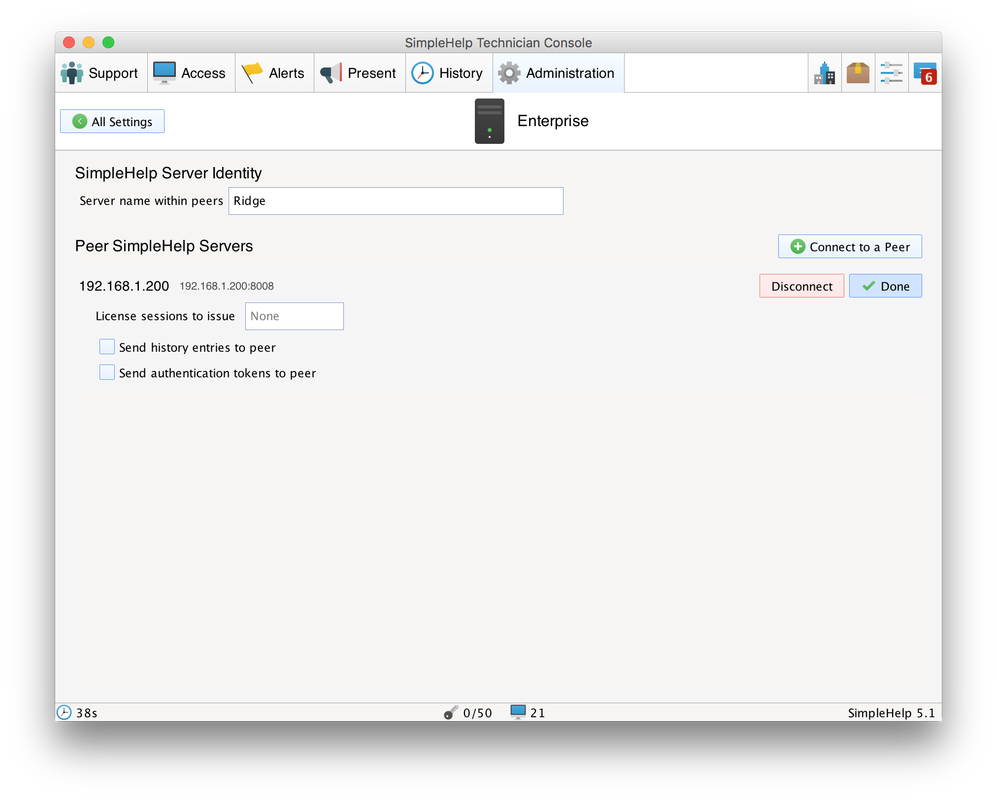
You will be asked for the remote address of the server that you wish to connect to. This remote address should be the remote server's domain name or IP address and can include a port (for example "192.168.1.200:8008"). You will need to provide the Administrator login details to establish the connection. Once connected, SimpleHelp will set up the relationship between the two servers and provide you with an Edit button to change the sharing and roles of the current server. When you are finished editing the settings you can click Done to apply them.

License Server
To simplify license management SimpleHelp Enterprise allows the use of one or more license servers to centralise license allowances and simplify billing.
To set up a license server you should first install the standard SimpleHelp server. Once set up, you can set up a peer relationship between the license server and any other servers you wish to allocate licenses to.
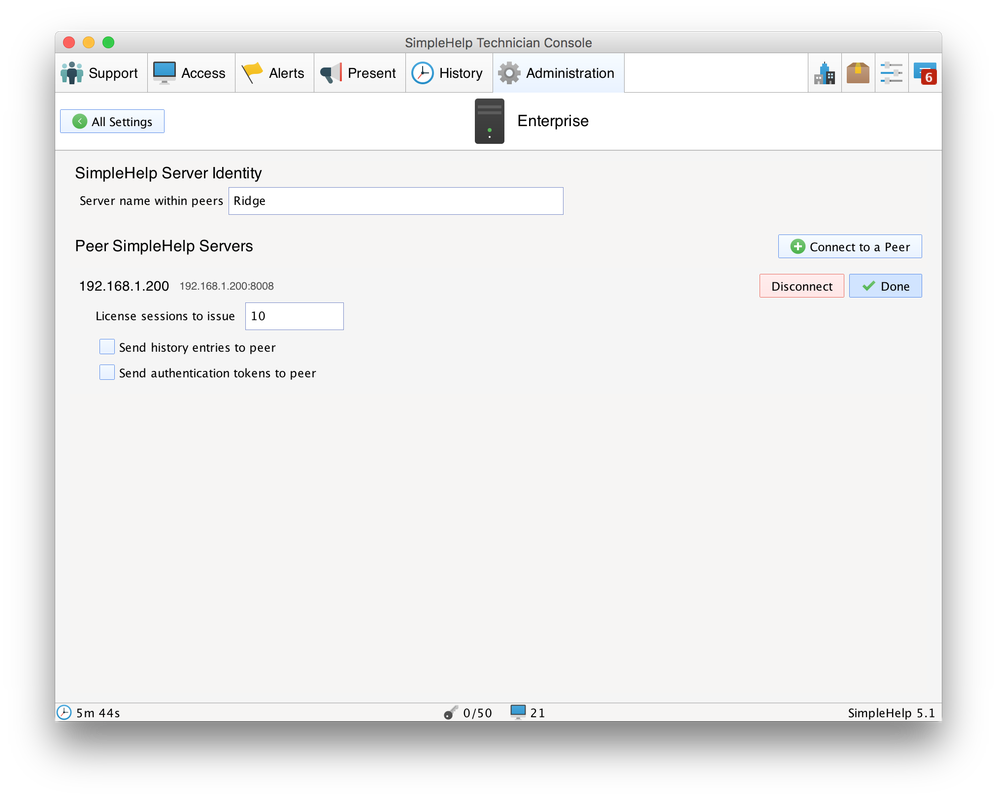
Once created, you can edit the peer relationship and enter the number of sessions you wish to allocate to the target server. The target server will disregard any local license and will accept the session limit from the license server. The license server's session limit will be reduced according to the total issued license limits across all peer relationships.
The license server can be a functional server which you already run (e.g. a server used for a particular region) or a dedicated standalone server used only for licensing purposes.

The peer connection between your license server and other servers will be automatically re-established should the network or a server go offline for any period of time.
In cases where the network link between your license server and peered SimpleHelp servers is unavailable your peered servers will retain their license configuration for up to 24 hours.
History Sharing
Peer connections can be used to share history items between servers. This allows the history state between a primary and secondary server to be complete and synchronised no matter which server was used to launch the session.
To enable history sharing check the Send history entries to peer option. The SimpleHelp server will not fully synchronise history entries between the servers, but instead will notify its peer connections every time a new session is added to the history. Details including the remote machine, technician details and session information are shared and will be present in the History tab on all servers.
Authentication Session Sharing
When a technician is authenticated with the SimpleHelp server they will be assigned a unique session token that permits them to continue accessing the server without continually needing to re-authenticate. In high availability situations, where users may be switched from a primary server to a secondary server, it is often beneficial to have the servers shared session information so that when a switch occurs technicians are automatically logged into the target secondary server without needing to re-authenticate.
To enable the sharing of session data between servers check Send authentication tokens to peer. When a session token is assigned to a technician it will also be shared with the peer server, and if the technician is required to reconnect through the peer server to continue using SimpleHelp no additional authentication will be required.
High Availability Failover
An Enterprise SimpleHelp server can be configured with a Failover Check URL. In setting this URL the remote support and technician applications downloaded from the SimpleHelp server will be configured to poll the specified URL to determine which SimpleHelp server they should connect to.
Should the desired target SimpleHelp server change at any point, all running customer support and technician applications will pick up the change on the next poll and behave according to the desired configuration, including prompting the technician to fail over, enforcing a server-wide timeout and automatically re-establishing any support sessions.
When referring to failover, SimpleHelp servers are referred to as Primary / Secondary / Tertiary servers.
Configuring Failover in SimpleHelp
To configure a failover URL on your SimpleHelp primary server you should first back up the configuration folder in your SimpleHelp server installation.
You can then edit the serverconfig.xml document using a non-formatting text editor (e.g. Wordpad) and place the following tag under the root tag:
<FailOverCheckURL>http://example.com:8008/myfile.txt</FailOverCheckURL>
Any applications subsequently downloaded from the SimpleHelp server will then be tagged to query the failover URL for instructions.
Configuring a Failover Web Server
The failover URL configured in your SimpleHelp server should be a plain text file (mime type ‘text/plain’) served by the standard web server of your choice (e.g. Apache or IIS).
This text file should be configured as a grouped set of name/value pairs as the example below:
use=primary
max-wait-mins=60
auto-switch-after-mins=5

primary_site1=http://primary.example.com:8008
primary_site2=http://1.2.3.4:9009

secondary_site1=http://secondary.example.com:8008
secondary_site2=http://4.3.2.1:9009
When configured, the SimpleHelp customer and technician client will check this URL to determine which site they are currently on (site1 vs site2, representing two differing URLs to access the same SimpleHelp server), and which server they should be using (primary vs secondary).
The site is determined by matching their currently used SimpleHelp server URL to any of the options presented. Once matched the current server they are connected to (primary or secondary) will be checked versus the desired server (use=...). If the desired server differs from the current the app will prompt only the technician to switch servers.
Upon detecting that a switch is necessary, the technician will have the option to:
- switch immediately
- delay 60 seconds
- delay 5 minutes
After any requested delay they will be prompted again. The following optional name/value pairs configure behaviour around technician switching:
- max-wait-mins : the maximum allowed deferment, specified in minutes. If set to 0 then the failover happens immediately. If negative, then the argument is ignored.
- auto-switch-after-mins : the maximum amount of time that the failover dialog should show before automatically switching over. If negative then the argument is ignored.
When the technician approves the switch, or the timeout limit is reached, both the technician app and customer app it is connected to (for sessions) will restart and reconnect to each other using the SimpleHelp server specified in the failover file.
Configuring Remote Access Services
Remote Access Services in SimpleHelp can be shared with multiple SimpleHelp servers simultaneously. In a configuration with multiple SimpleHelp servers configured for failover you can simply add each server in to the Remote Access Service configuration to ensure it is available on all the relevant servers.
Condenser Services
Condensers in SimpleHelp allow a Remote Access Service to be designated a Condenser and for other Remote Access Services to be shared to the target SimpleHelp server via that Condenser service. Remote Access Services are configured to register with the Condenser Service instead of with the SimpleHelp server. The Condenser Service then notifies the SimpleHelp server of the services that are registering with it.
Condenser servers have the following benefits:
- Condensers aid with scalability. Instead of facilitating connections to each Remote Access Service, a server need only communicate with a single Condenser Service to reach all the Remote Access Services that are registering with the Condenser.
- Condensers can improve bandwidth utilisation on the server. Condensers cache commonly downloaded resources, so separate downloads are not made to the SimpleHelp server for shared resources.
- Condensers allow for network segmentation, security and control. Remote Access Services on a network can be configured to register with a local Condenser Service. Network administrators then need only control access to the SimpleHelp server from the Condenser Service, and not from every machine on the network.
- Condensers are an essential part of SimpleHelp's IEC 62443 compliance.
For more information on the benefits of Condensers please see our Enterprise Feature Guide.
Configuring Condensers
A Remote Access Service can be enabled as a Condenser via the Access tab under the advanced options for a Remote Access Service:

When enabled, the Condenser service status icon will also change to show that it is operating in Condenser mode:

The service will begin to listen on the Condenser port. By default, this is port 7650 however this default can be changed via the Administration tab under the Enterprise subsection:

The default Condenser Service port can be a single port or a range of ports. If a range of ports is provided then the Condenser Service will listen on each specified port in the range, and services can register with it on any of these ports. Every time a Remote Access Service is configured to be a Condenser Service, it'll be notified to accept connections via the selected port/s. Additionally, a particular Condenser service can also be configured to use its own specific port rather than the system-wide default via the Remote Access Configure app in the Advanced section under Service Condenser:

Configuring Services
Once enabled, other Remote Access Services can be shared directly through the Condenser Service. This is achieved by adding a SimpleHelp server to the Remote Access Services and specifying the address or IP of the Condenser and its port. The protocol HTTP should be selected for this, for example:
(http) 1.2.3.4:7650
Note that the address should specify the IP address of the Condenser, followed by a colon, then the port number the Condenser is listening on - ip:port
The Remote Access Service will then become available on the SimpleHelp server as normal. All features supported by the Remote Access Service via normal sharing are supported via Condensers including High Availability Failover and server redundancy.

